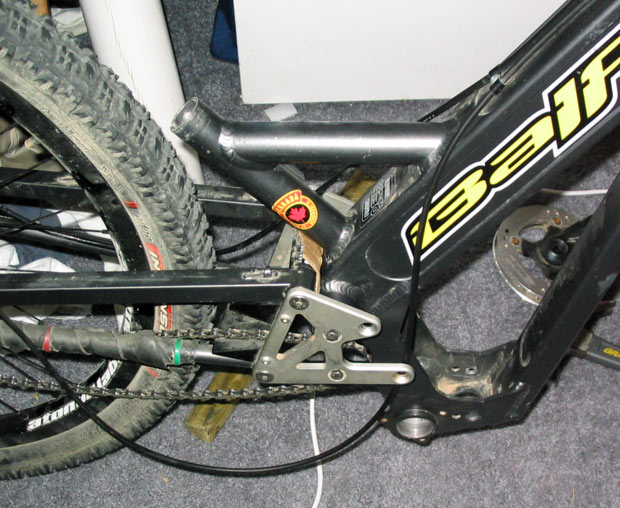
Removing the Pivot Bearings:
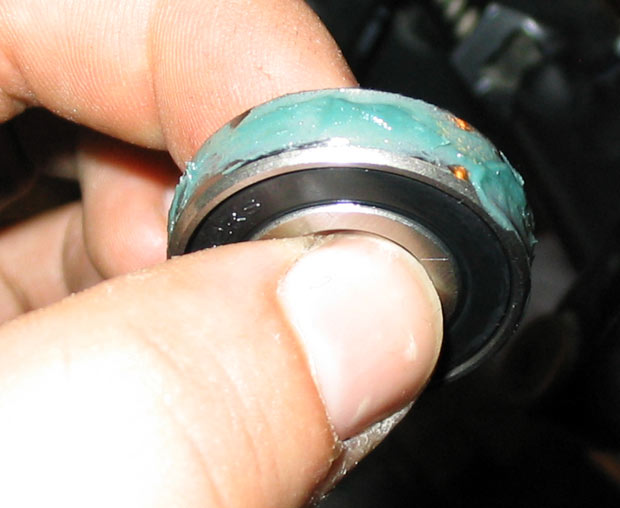
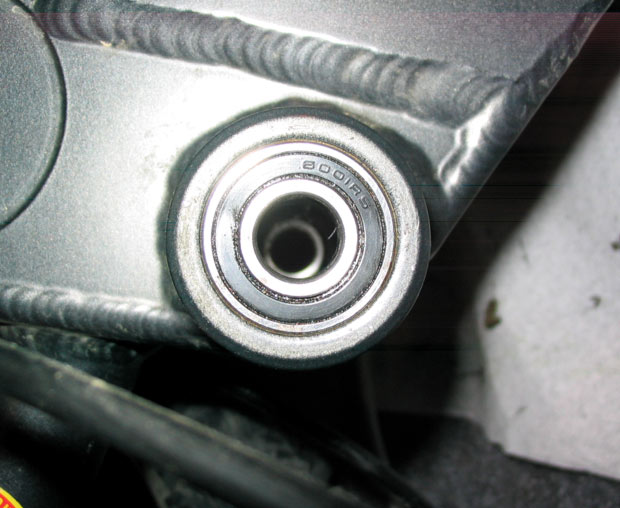
On my 2004 Balfa BB7, the pivot consisted of two linkage plates, two washers, two bearings (6001-2RS), and an axle who'se ends are conical and also just a tad bit thicker than the middle of the axle. The Bearings and axle all seat within a tube welded onto the frame which has little cups for the bearings to sit in.
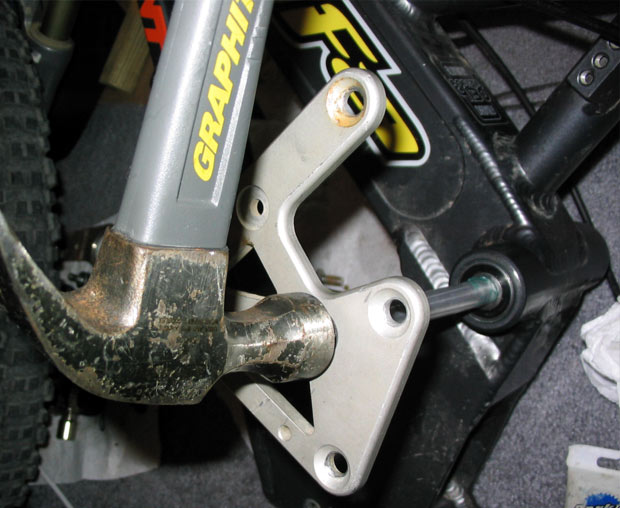
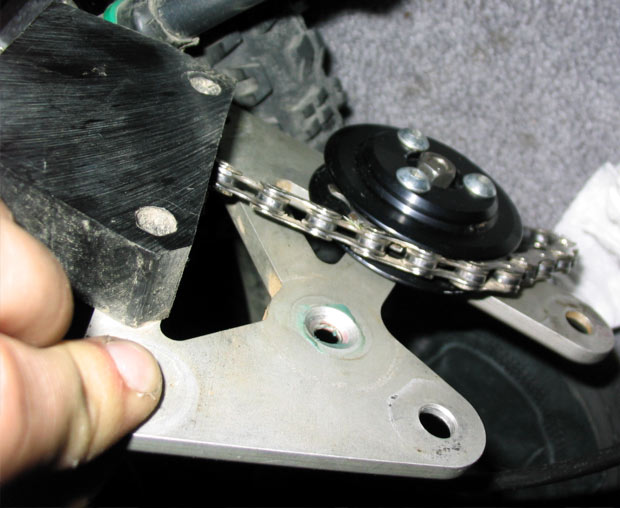
The first step to disassembling all this is to remove the rear triangle and the two screws that hold the pivot together. If you find you cannot unscrew both linkage plates, don't worry about it, only one needs to be unscrewed now.
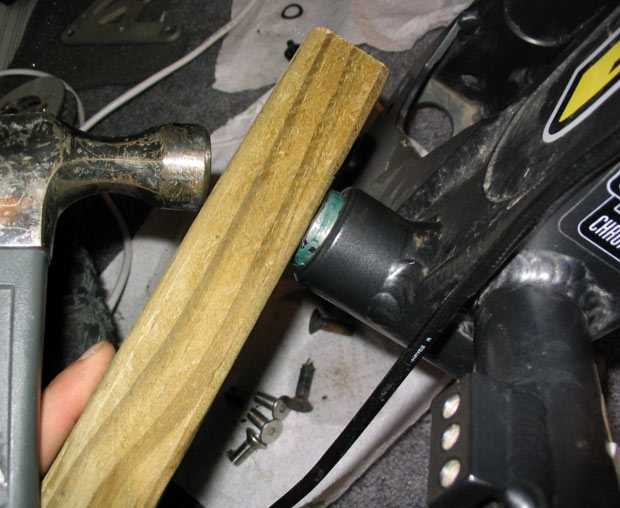
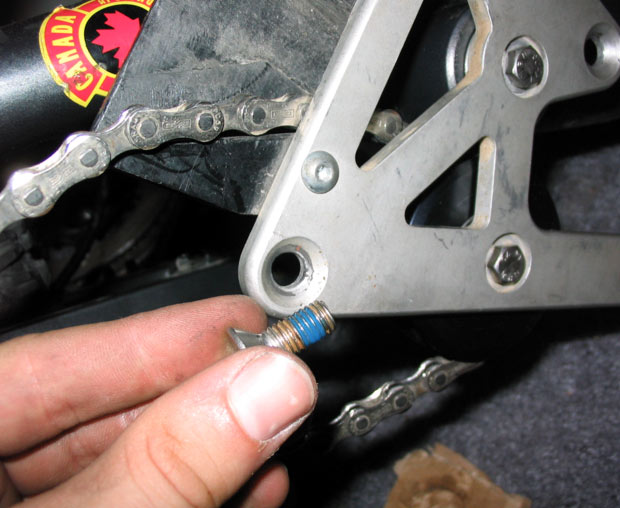
With the linkage plates removed, the next step is to hammer out the axle. The axle is made of a soft metal and also has a conical tip so if you try to hammer it out as-is, you can mess up the end or squish the end so the bolt will not thread in. To prevent this, take the screw that held the linkage plate onto the axle and screw it in about halfway into the axle. Afterwards, grab a socket extender that is smaller than the width of the axle and hammer away. You will notice that once you get past the first bearing, the axle will slide down until the thicker end reaches the other side. Hopefully you will have a socket adapter that is long enough to reach the other end so you can still hammer the axle out the rest of the way.
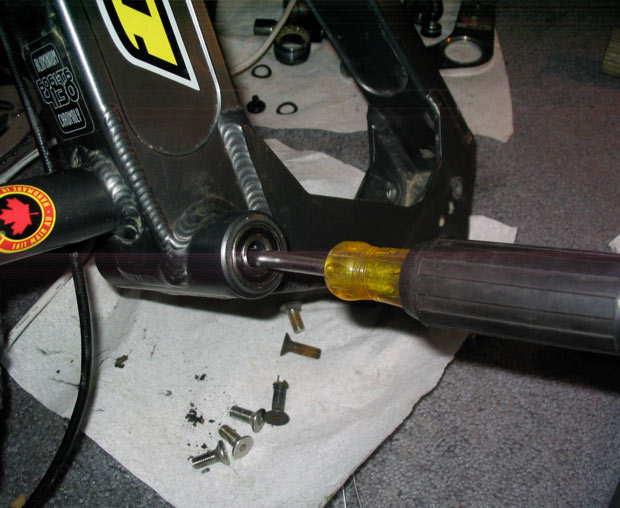
You can in this picture that I hammered the axle through without a screw. I was able to avoid mashing the threads by putting a socket atop of the cone in a manner that did not mash the threads.. but if I were to do it again, I would have threaded a screw in.
With the axle removed, grab a long screwdriver and insert it into the axle hole until the tip rests on the inner race of the bearing on the other side. If your BB7 was anything like mine, it took a few good hammer swings to get this out so don't be too afraid to use force.
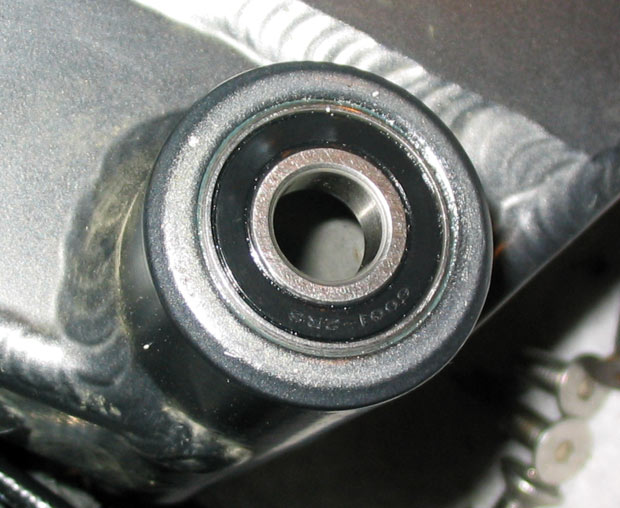
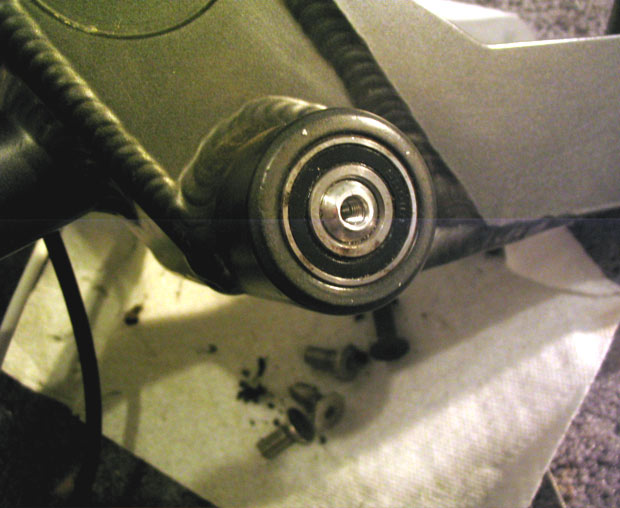
Below is a picture of the frame with one of the bearings removed. Notice that there is a bevel that keeps the bearings from moving too deep into the tube of the pivot.
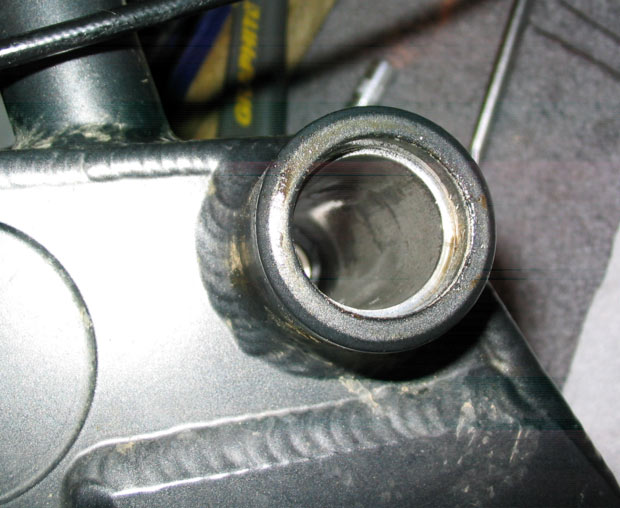
Once you get the one bearing out, you can use the same hammer and screwdriver method to remove the other bearing.
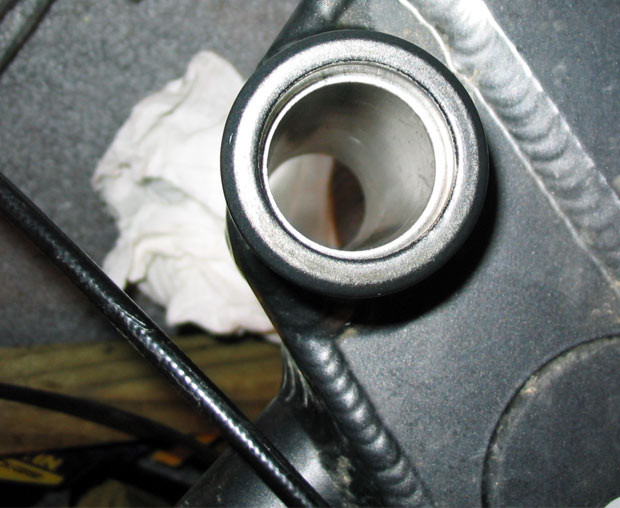
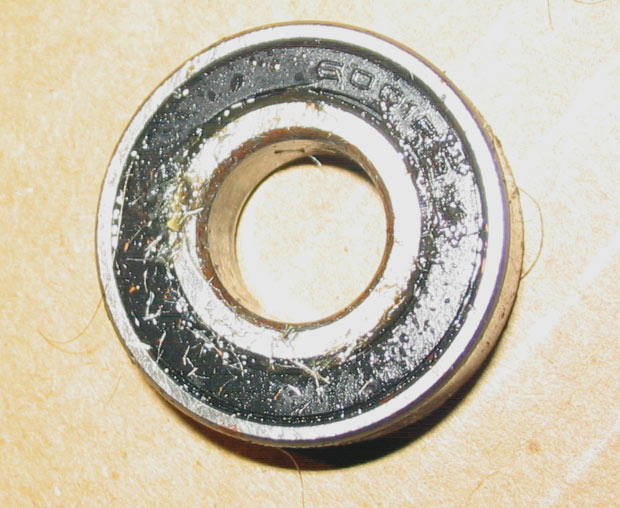
Remember in the introduction where I talked about the metal shavings coming out of the bearings? Well here they are!
Thats it for removal! It would probably be a wise idea to clean out any gunk that built up in the pivot tube while you have everything apart.