Removing the Pulley Bearings:
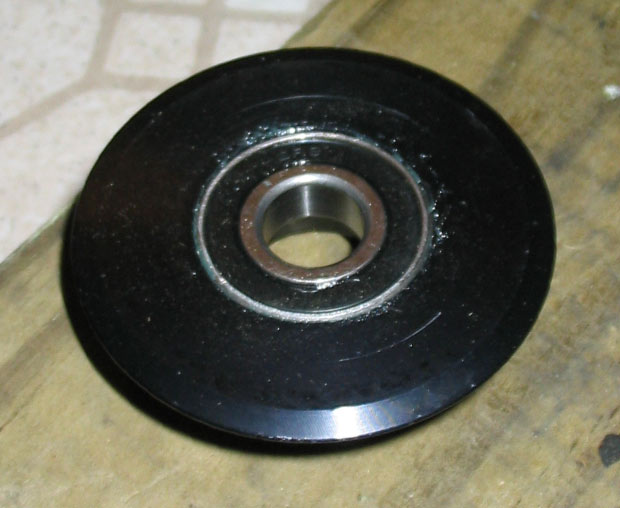
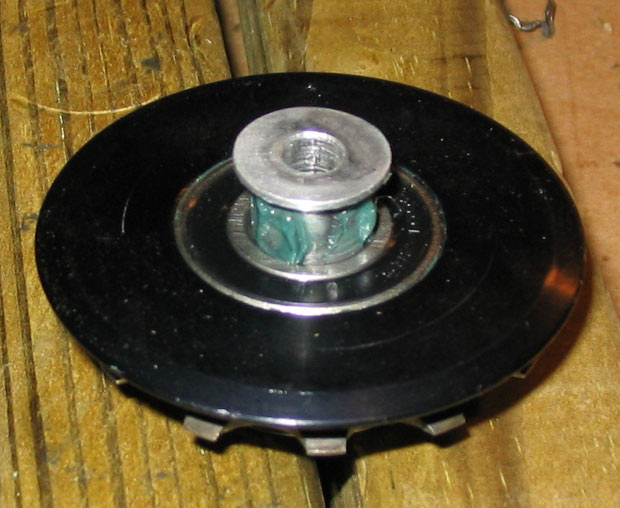
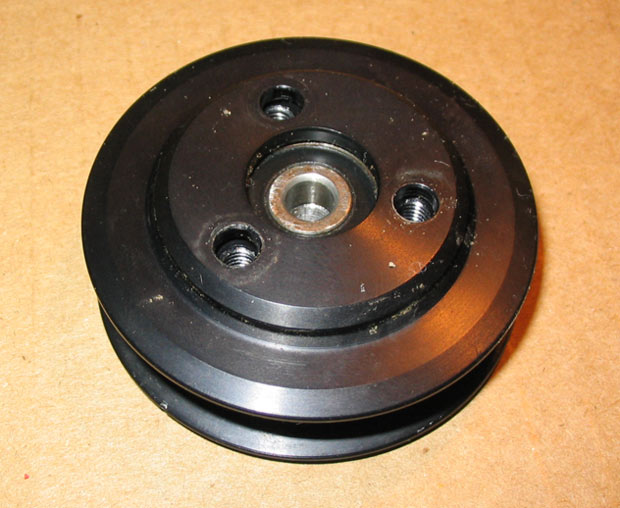
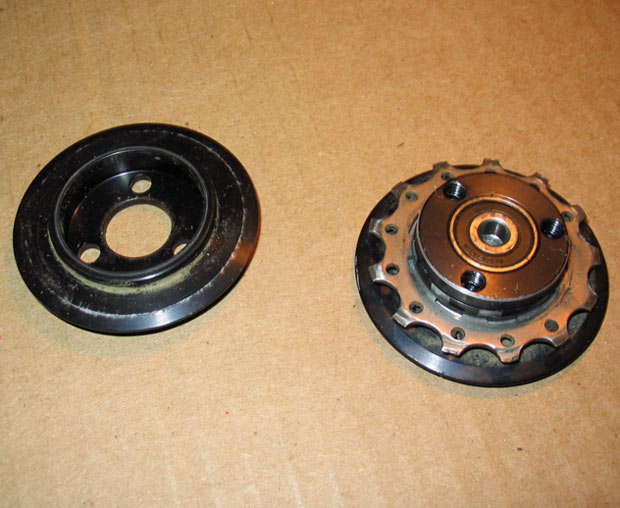
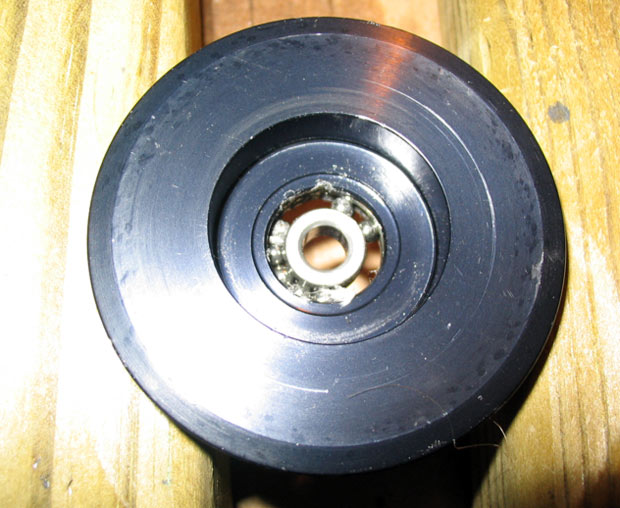
On my 2004 Balfa BB7, the pulley unit consists of 3 screws, two metal machined pulley sides, a generic rear cassette cog, one large bearing (6001-2RS) with a hollow axle in it, and a smaller bearing (626-2RS). Here is a picture of the assembly once you remove the unit. I have also taken the liberty of removing the three screws that hold the cog and two machined plates together.
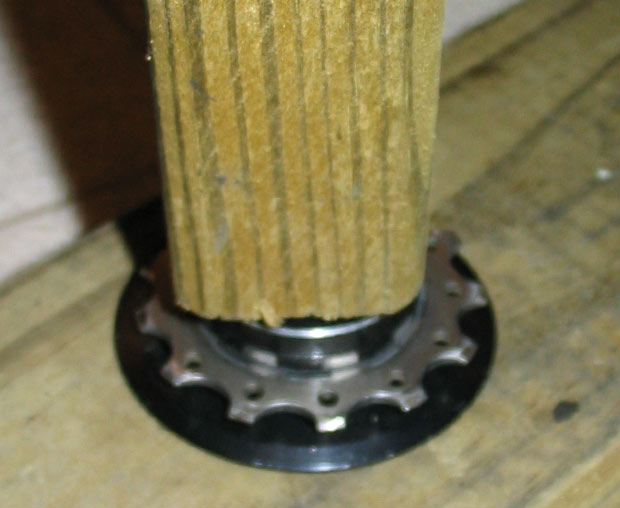
Using your fingers, pull the two sides apart.. if it is difficult to do, try spraying it with wd-40. Now is probably a good time to clean out all that gunk in there. If the cog is really worn, you might want to replace that too. As mentioned earlier, it should just be a cog out of a standard cassette.
Now that you have the machined pulley sides apart, take a look at the piece that holds the bearings. There will be two bearings, one large with a metal axle insert and one small bearing. These two bearings are separated by a metal wall so you cannot simply hammer the smaller one directly against the larger bearing and make it pop out.
The best way I found to remove it was to take off the rubber seal of the smaller bearing, move a few bearings out of the way, and hammer between the smaller bearing's races to pop the larger bearing out. Ham-fisted? You bet.. but it does work.
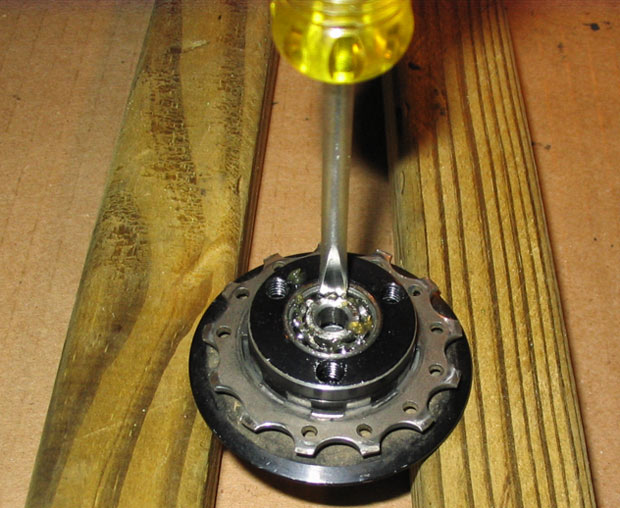
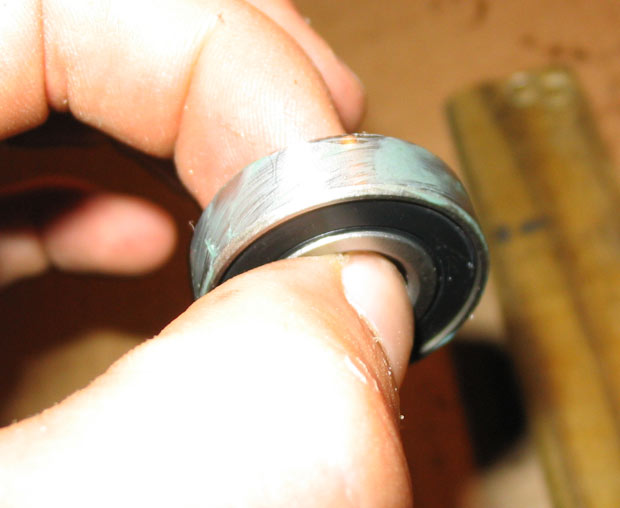
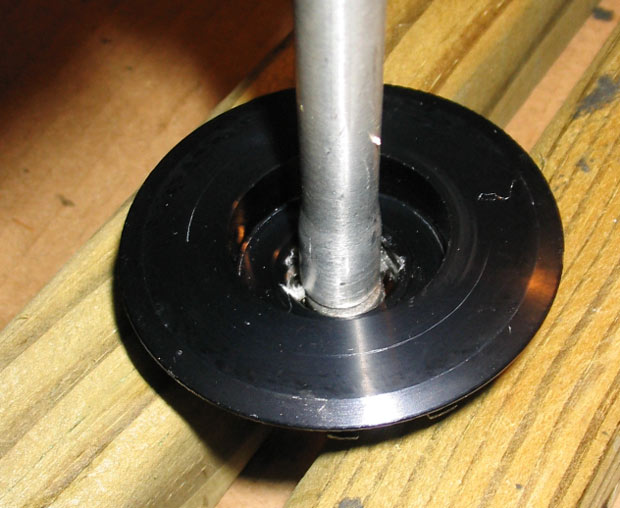
Below is a picture of the results of the hammering. As you can see, the screwdriver is still stuck in the races of the smaller bearing.
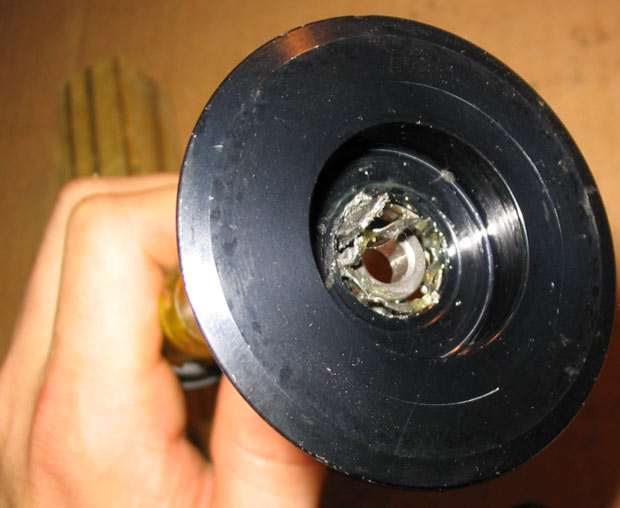
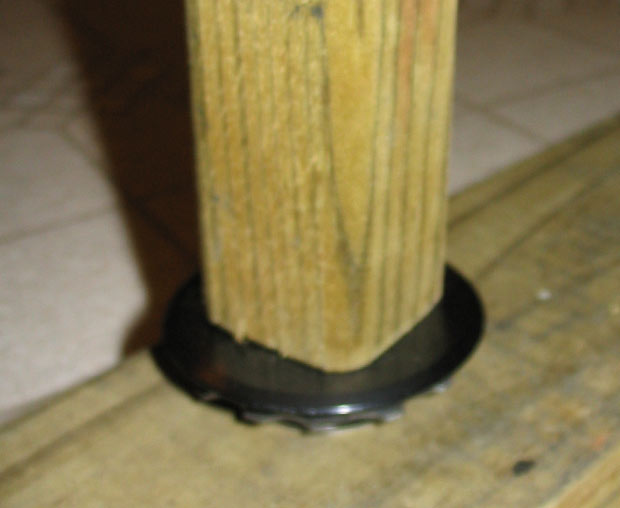
Here is a picture showing the smaller bearing still in the pulley. It also shows the metal wall I spoke of earlier that separates the bearings and the accidental damage I did to it while hammering.. oops!
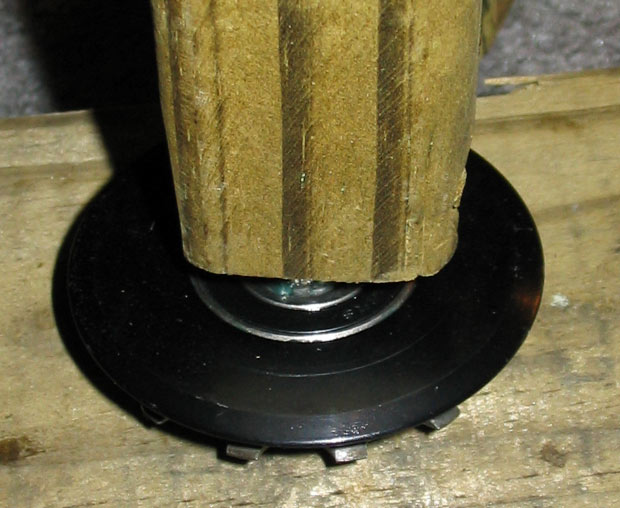
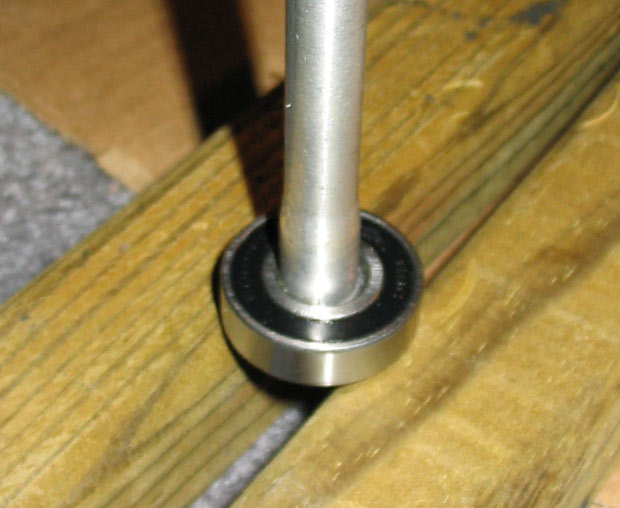
To remove the smaller bearing, find something about the size of the internal race. In my case I use a socket wrench extender.
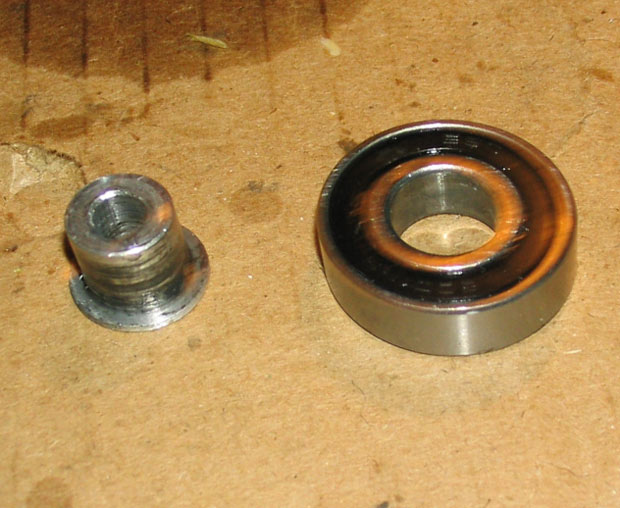
With both the bearings removed, it's now time to remove the axle that was inside the larger of these bearings. You can accomplish this by hammering it out with something like the socket wrench extender I used to get the smaller bearing out in the previous step.
Notice the axle has a lip on it on one side. Make sure you are not trying to hammer it out the wrong way!
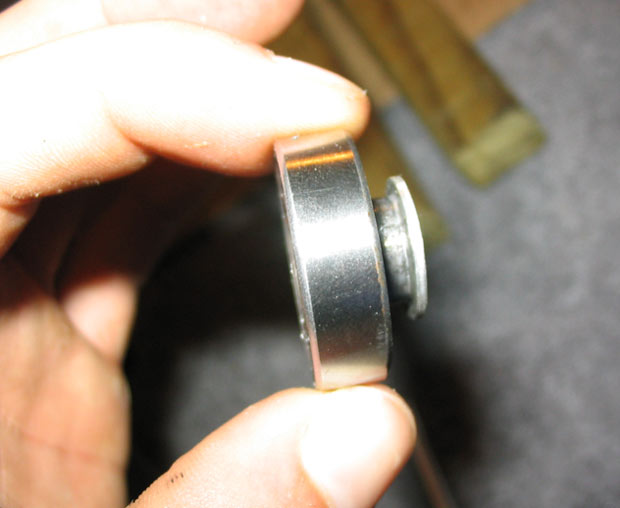
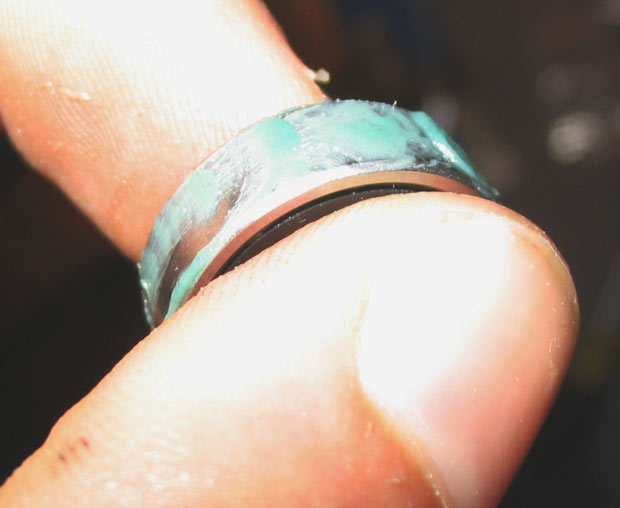
Whew! Everything is apart now! Below is a picture of the larger bearing and the axle removed from it.